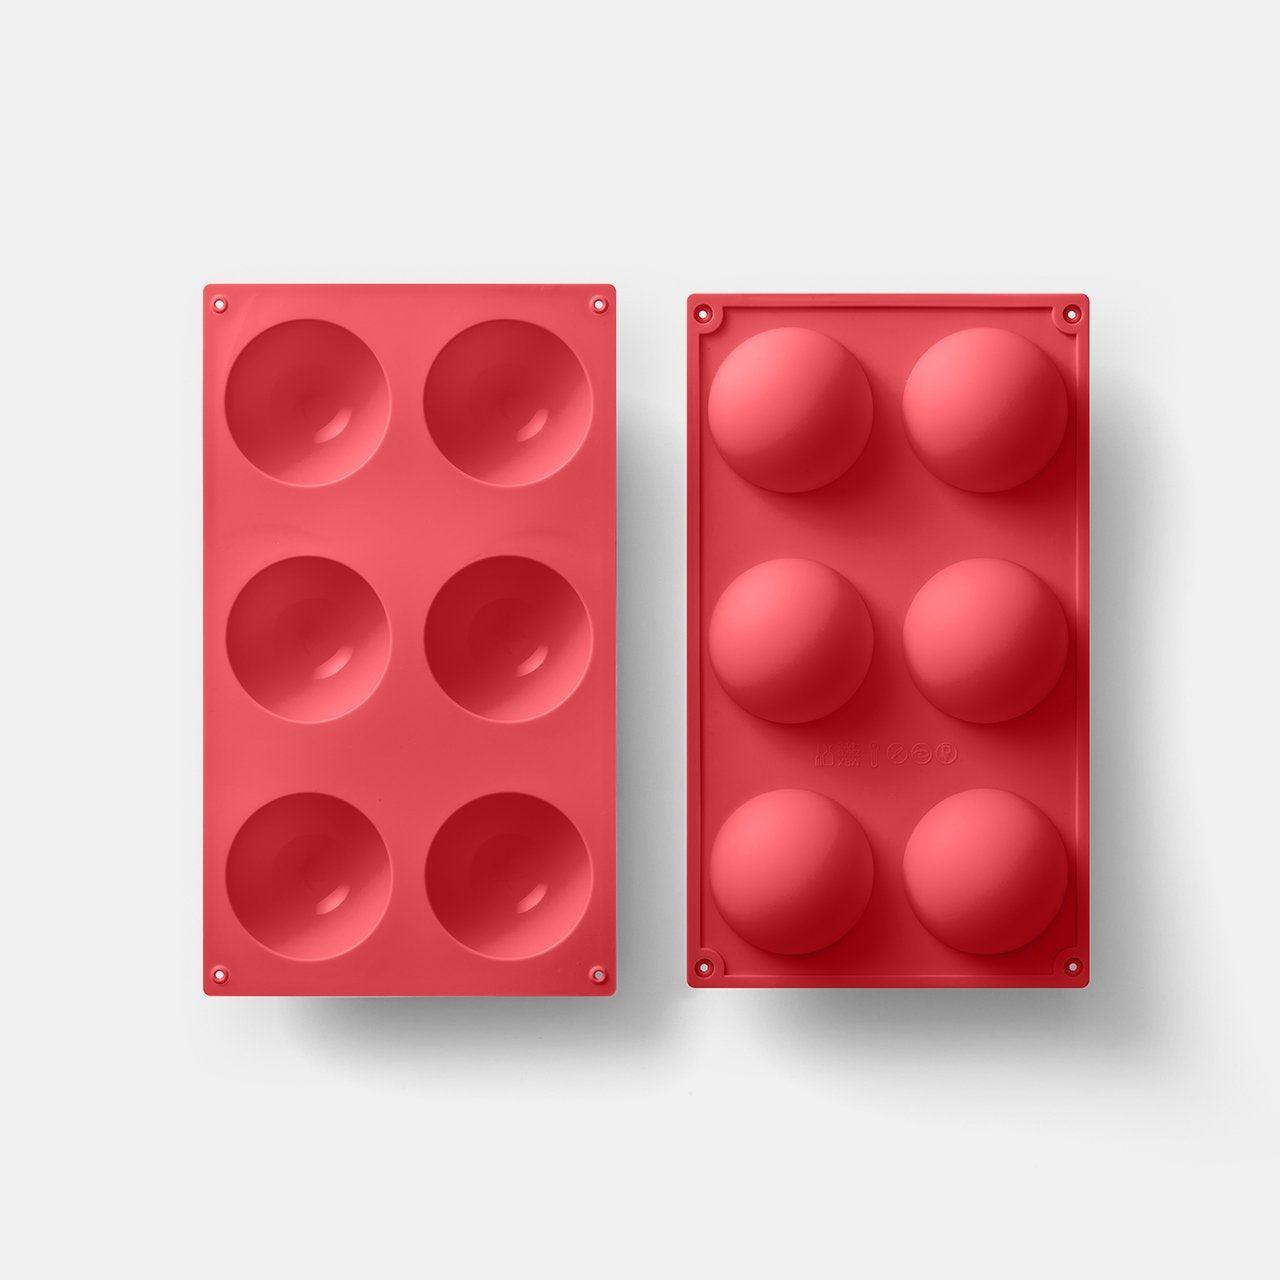
Step 2. Preparing the Chocolate Spheres
- Use a spoon or brush to evenly cover the interior of the mold with chocolate. Note: Don’t skimp on the edges or they’ll be extremely fragile.
- Chill in the fridge for several minutes, until hardened, then apply a second coat of chocolate. Note: If you cool your silicone mold in the freezer ahead of time, the chocolate will cool quicker as it is applied, and will allow you to coat the sides easier.
- After the second coat is applied, chill for another 5 minutes, then carefully remove the half-spheres from the mold. Note: It is important that the sides of the molds are covered well, otherwise you will have breakage when putting the spheres together.
- Place the spheres in the cupcake liners or on a plate so they are easily contained.
Step 3. Filling & Assembling Hot Chocolate Bombs
- Either warm a plate in the microwave for 2 minutes, or warm a pan on the stove over low heat.
- Take one half-sphere and briefly touch the edge against the surface of the warm plate or pan to make a smooth edge, just long enough to leave a melted chocolate ring.
- Add 2 teaspoons of hot cocoa mix and a few marshmallows into the sphere.
- Take another half-sphere and very briefly melt the edge of that on the warm plate or pan, then press carefully but firmly to the half-sphere you have filled. Note: Line the edges up as well as you can to minimize the appearance of the seam.
- Decorate the top with your choice of melted chocolate, melted white chocolate, sprinkles, or other toppings.
Step 4: Enjoy!
Once your bombs are complete, drop one into a glass of warm milk; watch as the bomb “explodes” and your hot cocoa comes to life!


